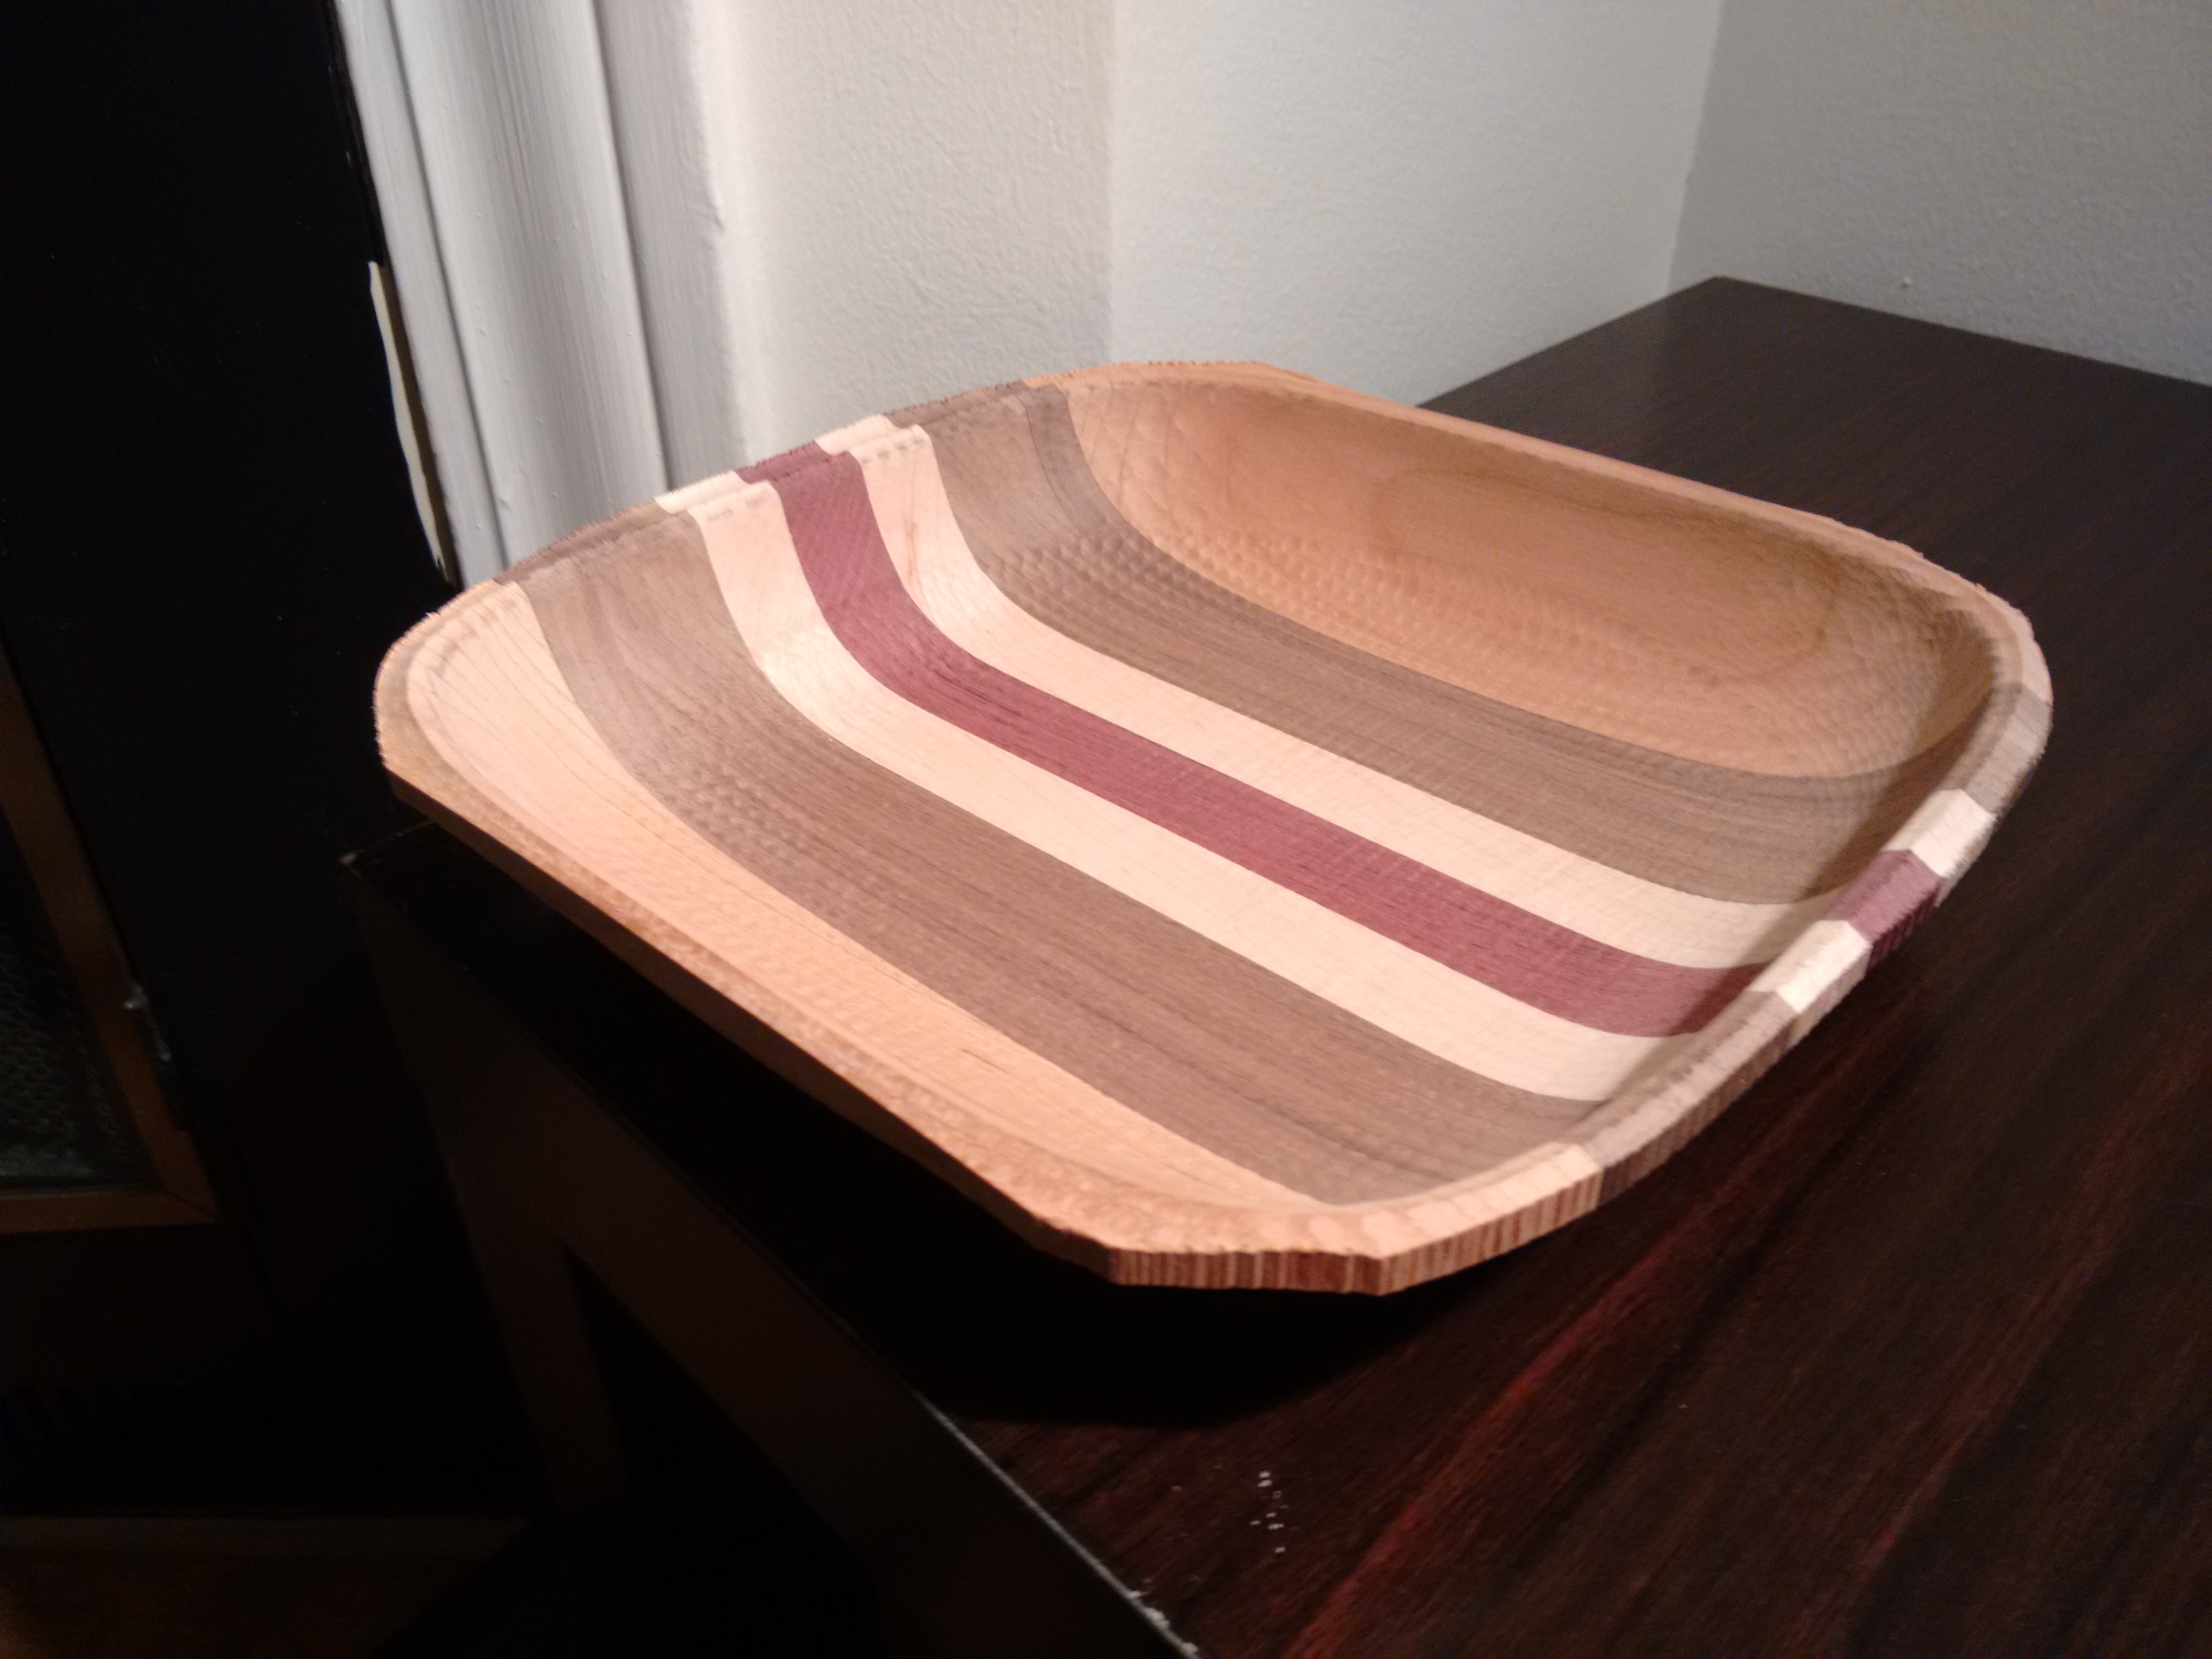
I’ve been making some bowls on the CNC router, and thought that might be interesting to someone here. Let’s start with the results (one more at the end of the post):
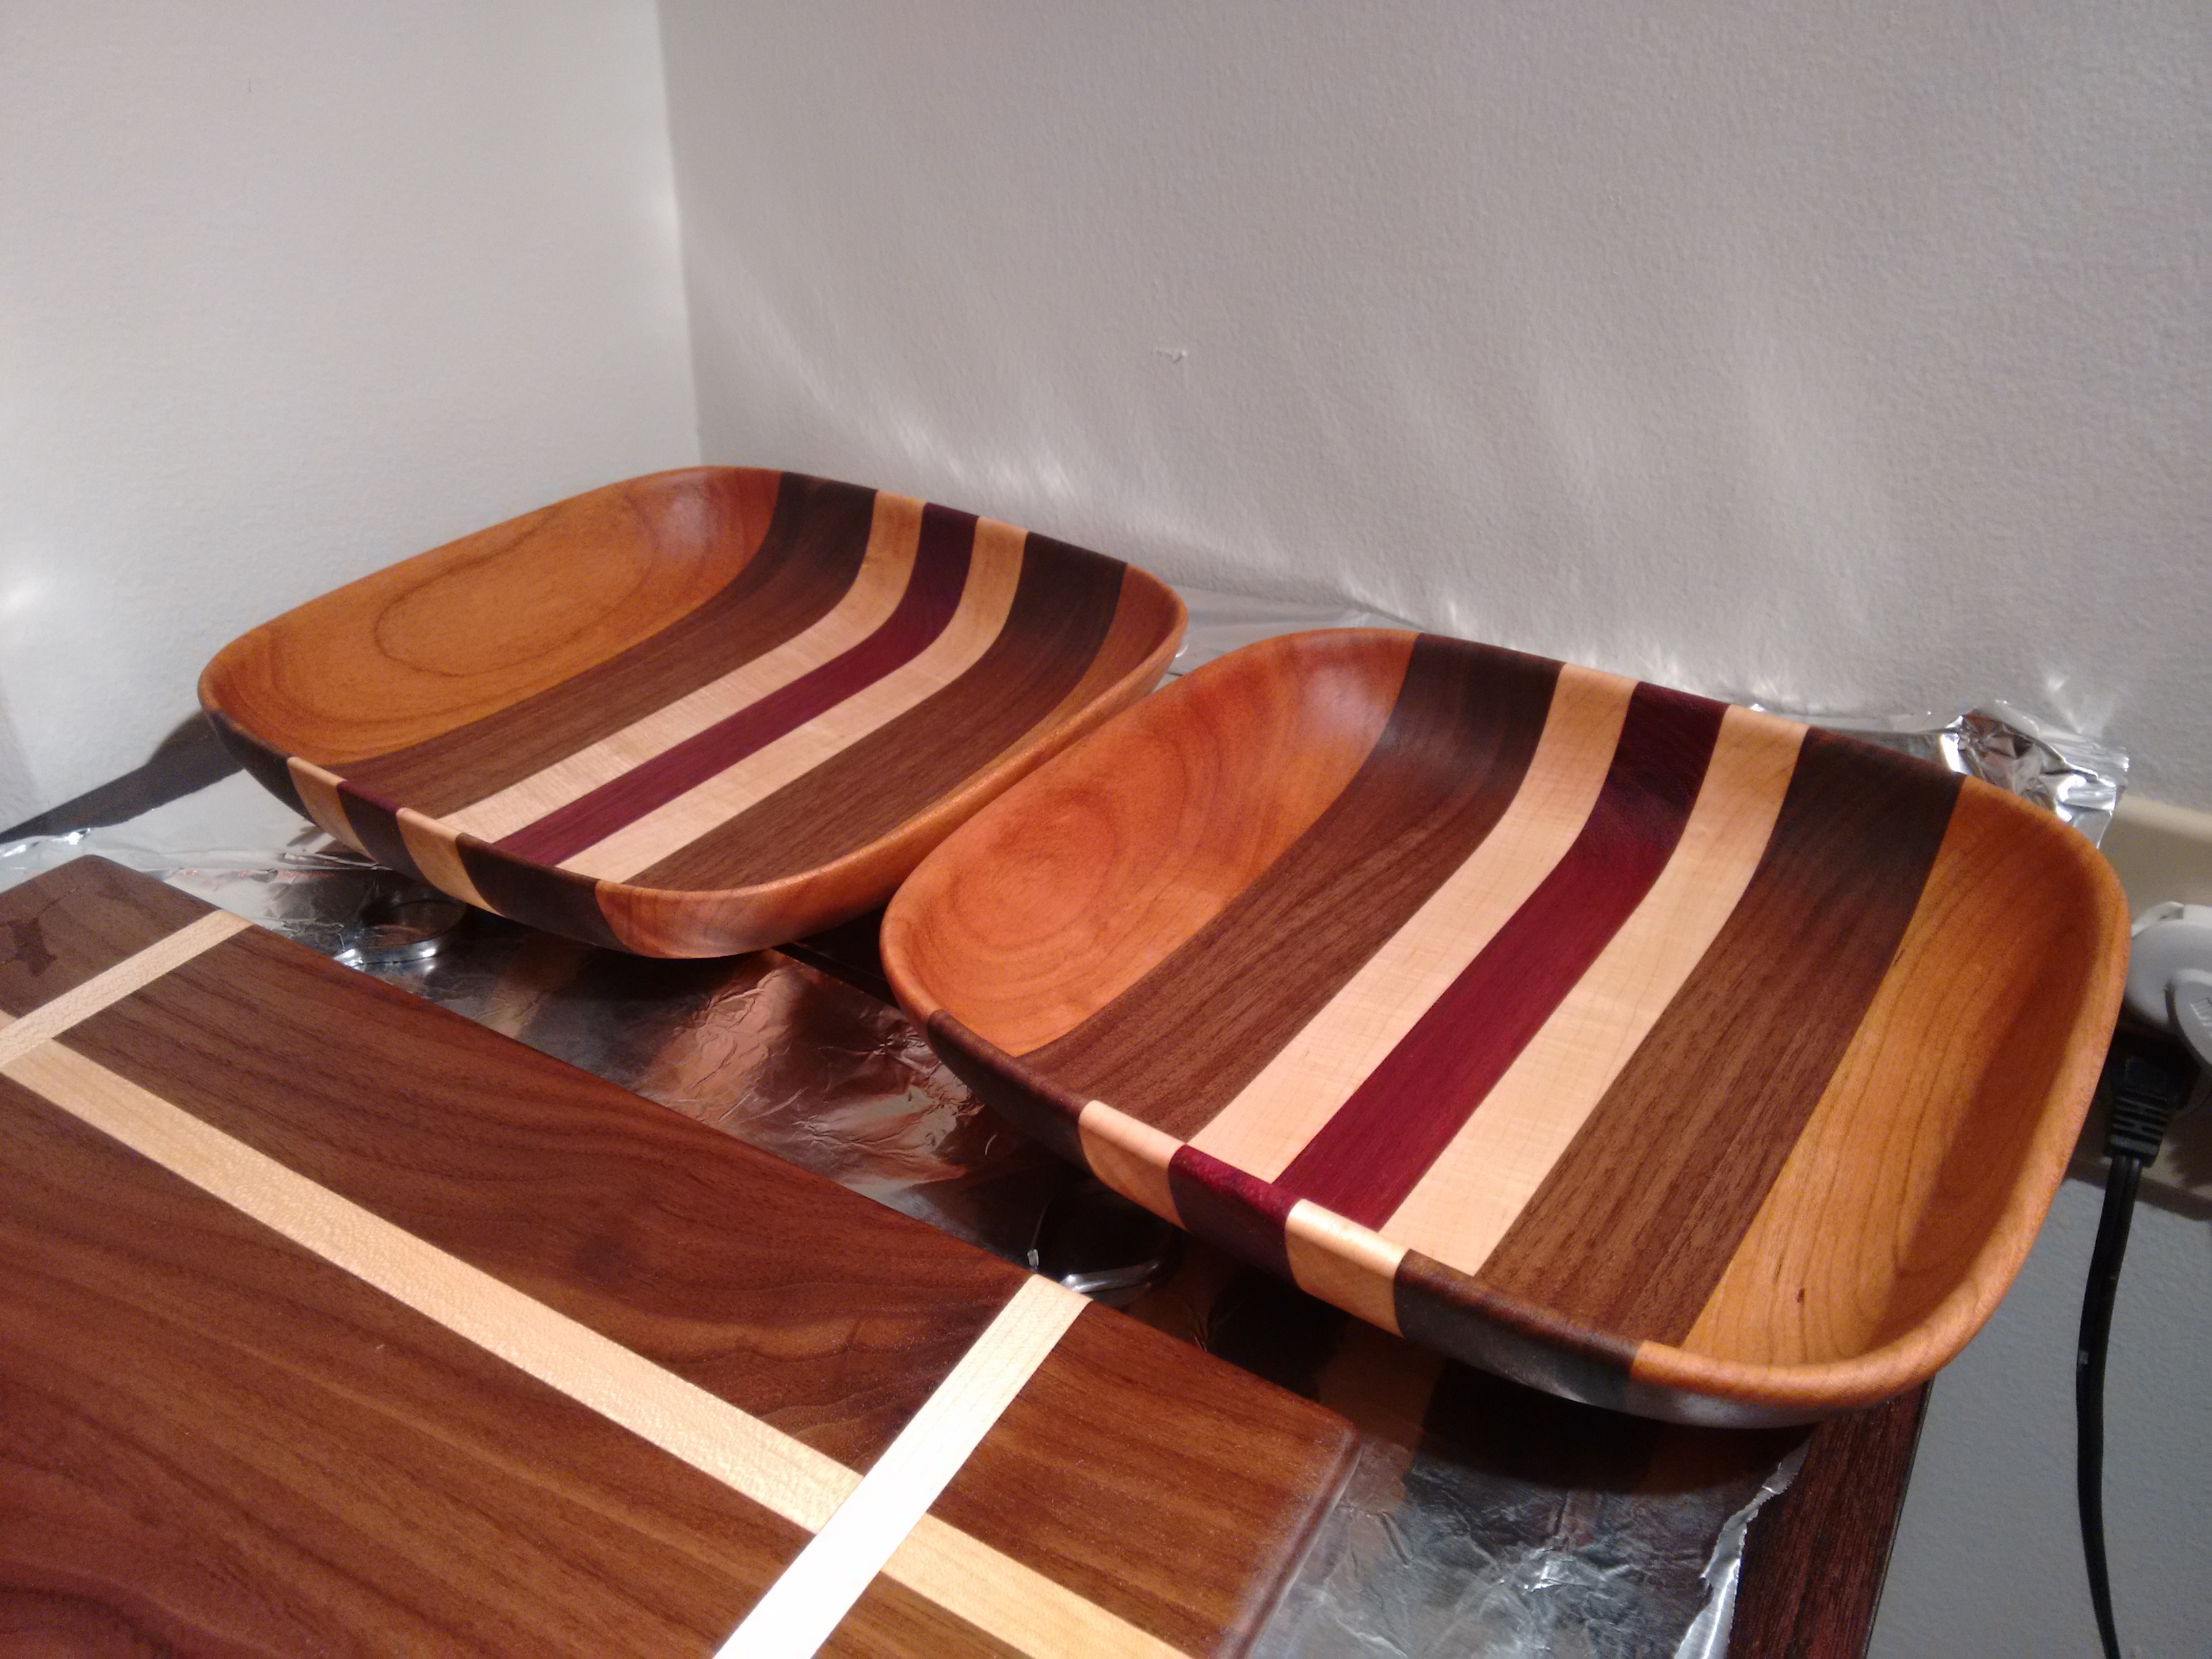
These are 8.5’’ wide and 1.75’’ deep. The walls are 1/4’’ thick. The depth is mostly limited by the length of the tool that you have. Below I’ll briefly go over the process of making these. I will use pictures from two different projects to cover all steps.
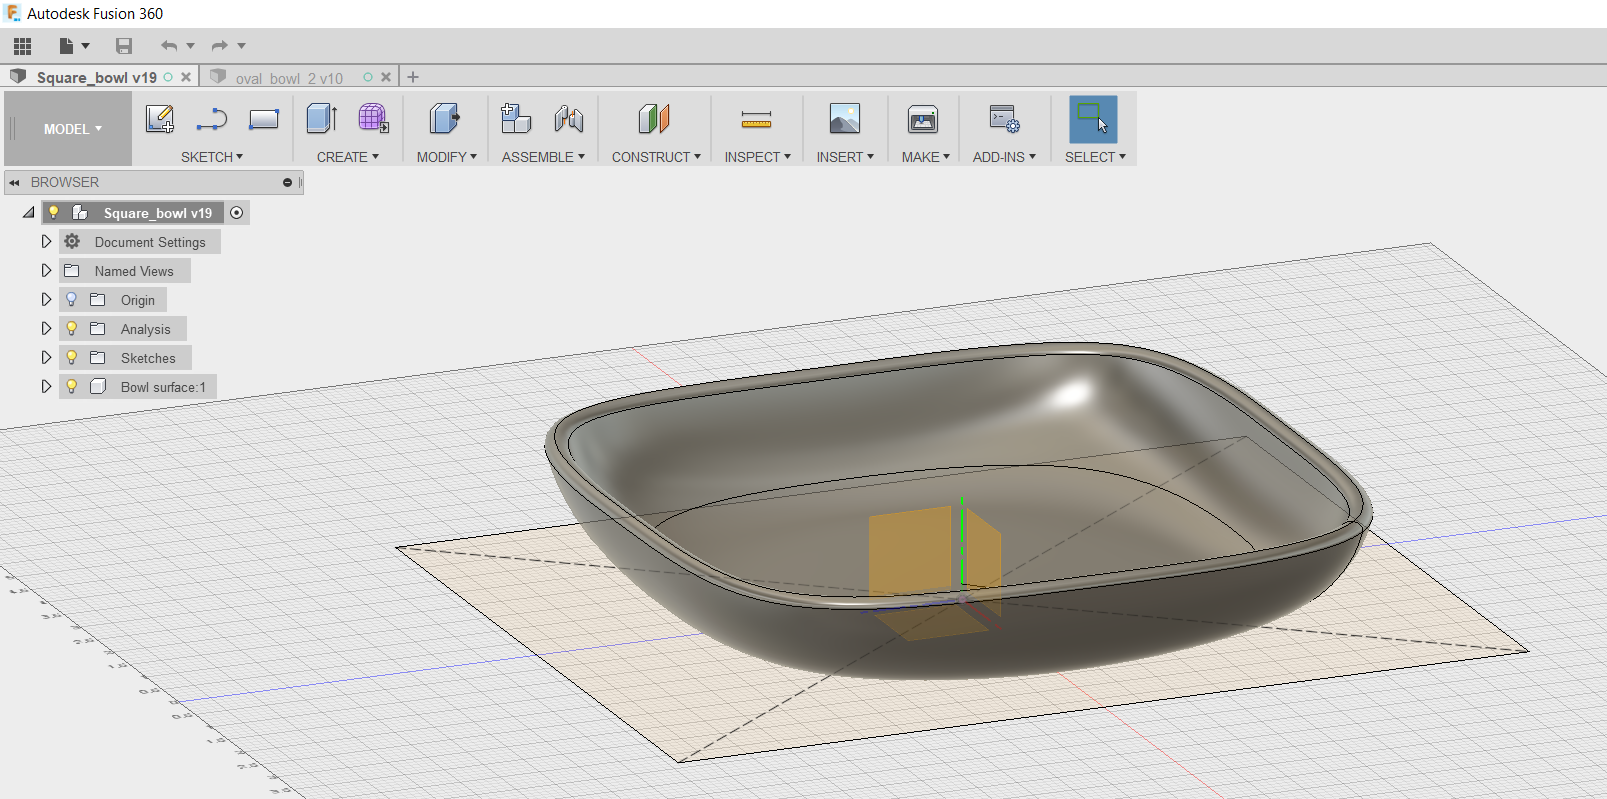
As with any project, we start with a design. Design was by far the longest and hardest part for me, since I’d never used Fusion 360 or CNC before. I designed the bowls in Fusion 360, which is quite good at producing the g-code as well. Here are the links for two of my designs: square bowl, oval bowl. This is what a model looks like:
I won’t go into details of producing the design, there are YouTube tutorials to learn that. Another video by the same guy on the CAM section (generating cuts and g-code). But I’ll say a few words about making the tool paths. In Fusion 360, there are setups for each surface that you want to mill. With a bowl, we have front and back surfaces, therefore we’ll have two setups. In each setup we specify the stock size. Be sure to measure the actual size of your stock and precisely enter it in each of the setups. If you fail here, you may get a surprise when you flip your stock and mill the second side. I used 140 in/min feed rate for most of my cuts, at the speed 16k rpm. I’m not sure what is the maximum feed rate our CNC can go.
Another thing to think about on the design stage is the model height. You can’t cut deeper than you tool length. So if you are using the 3’’-long tool (overall) that I used, your model should not be higher than ~2’’.
After the design is done, we select stock material. I chose to make it striped, so I glued differnet woods into a slab:

The glue up must be perfect, don’t be shy on glue, otherwise you’ll get holes in your bowl
 On this picture, I used merbau wood (dark), red oak, and something else in between. On the first picture, it is cherry, walnut, maple, and purpleheart. They all look good in my bowls, except for cherry which has a nonuniform texture when finished with tung oil. When the glue is cured, I pass the slab through the planer and cut one end with the miter saw. This way it can be easily aligned on the CNC bed.
Now the CNC part begins. I chose this 1/2’’ ball nose bit, which is now in the drawer with the other tools. Now we have another very long bit there, but I’m a little bit scared to use it
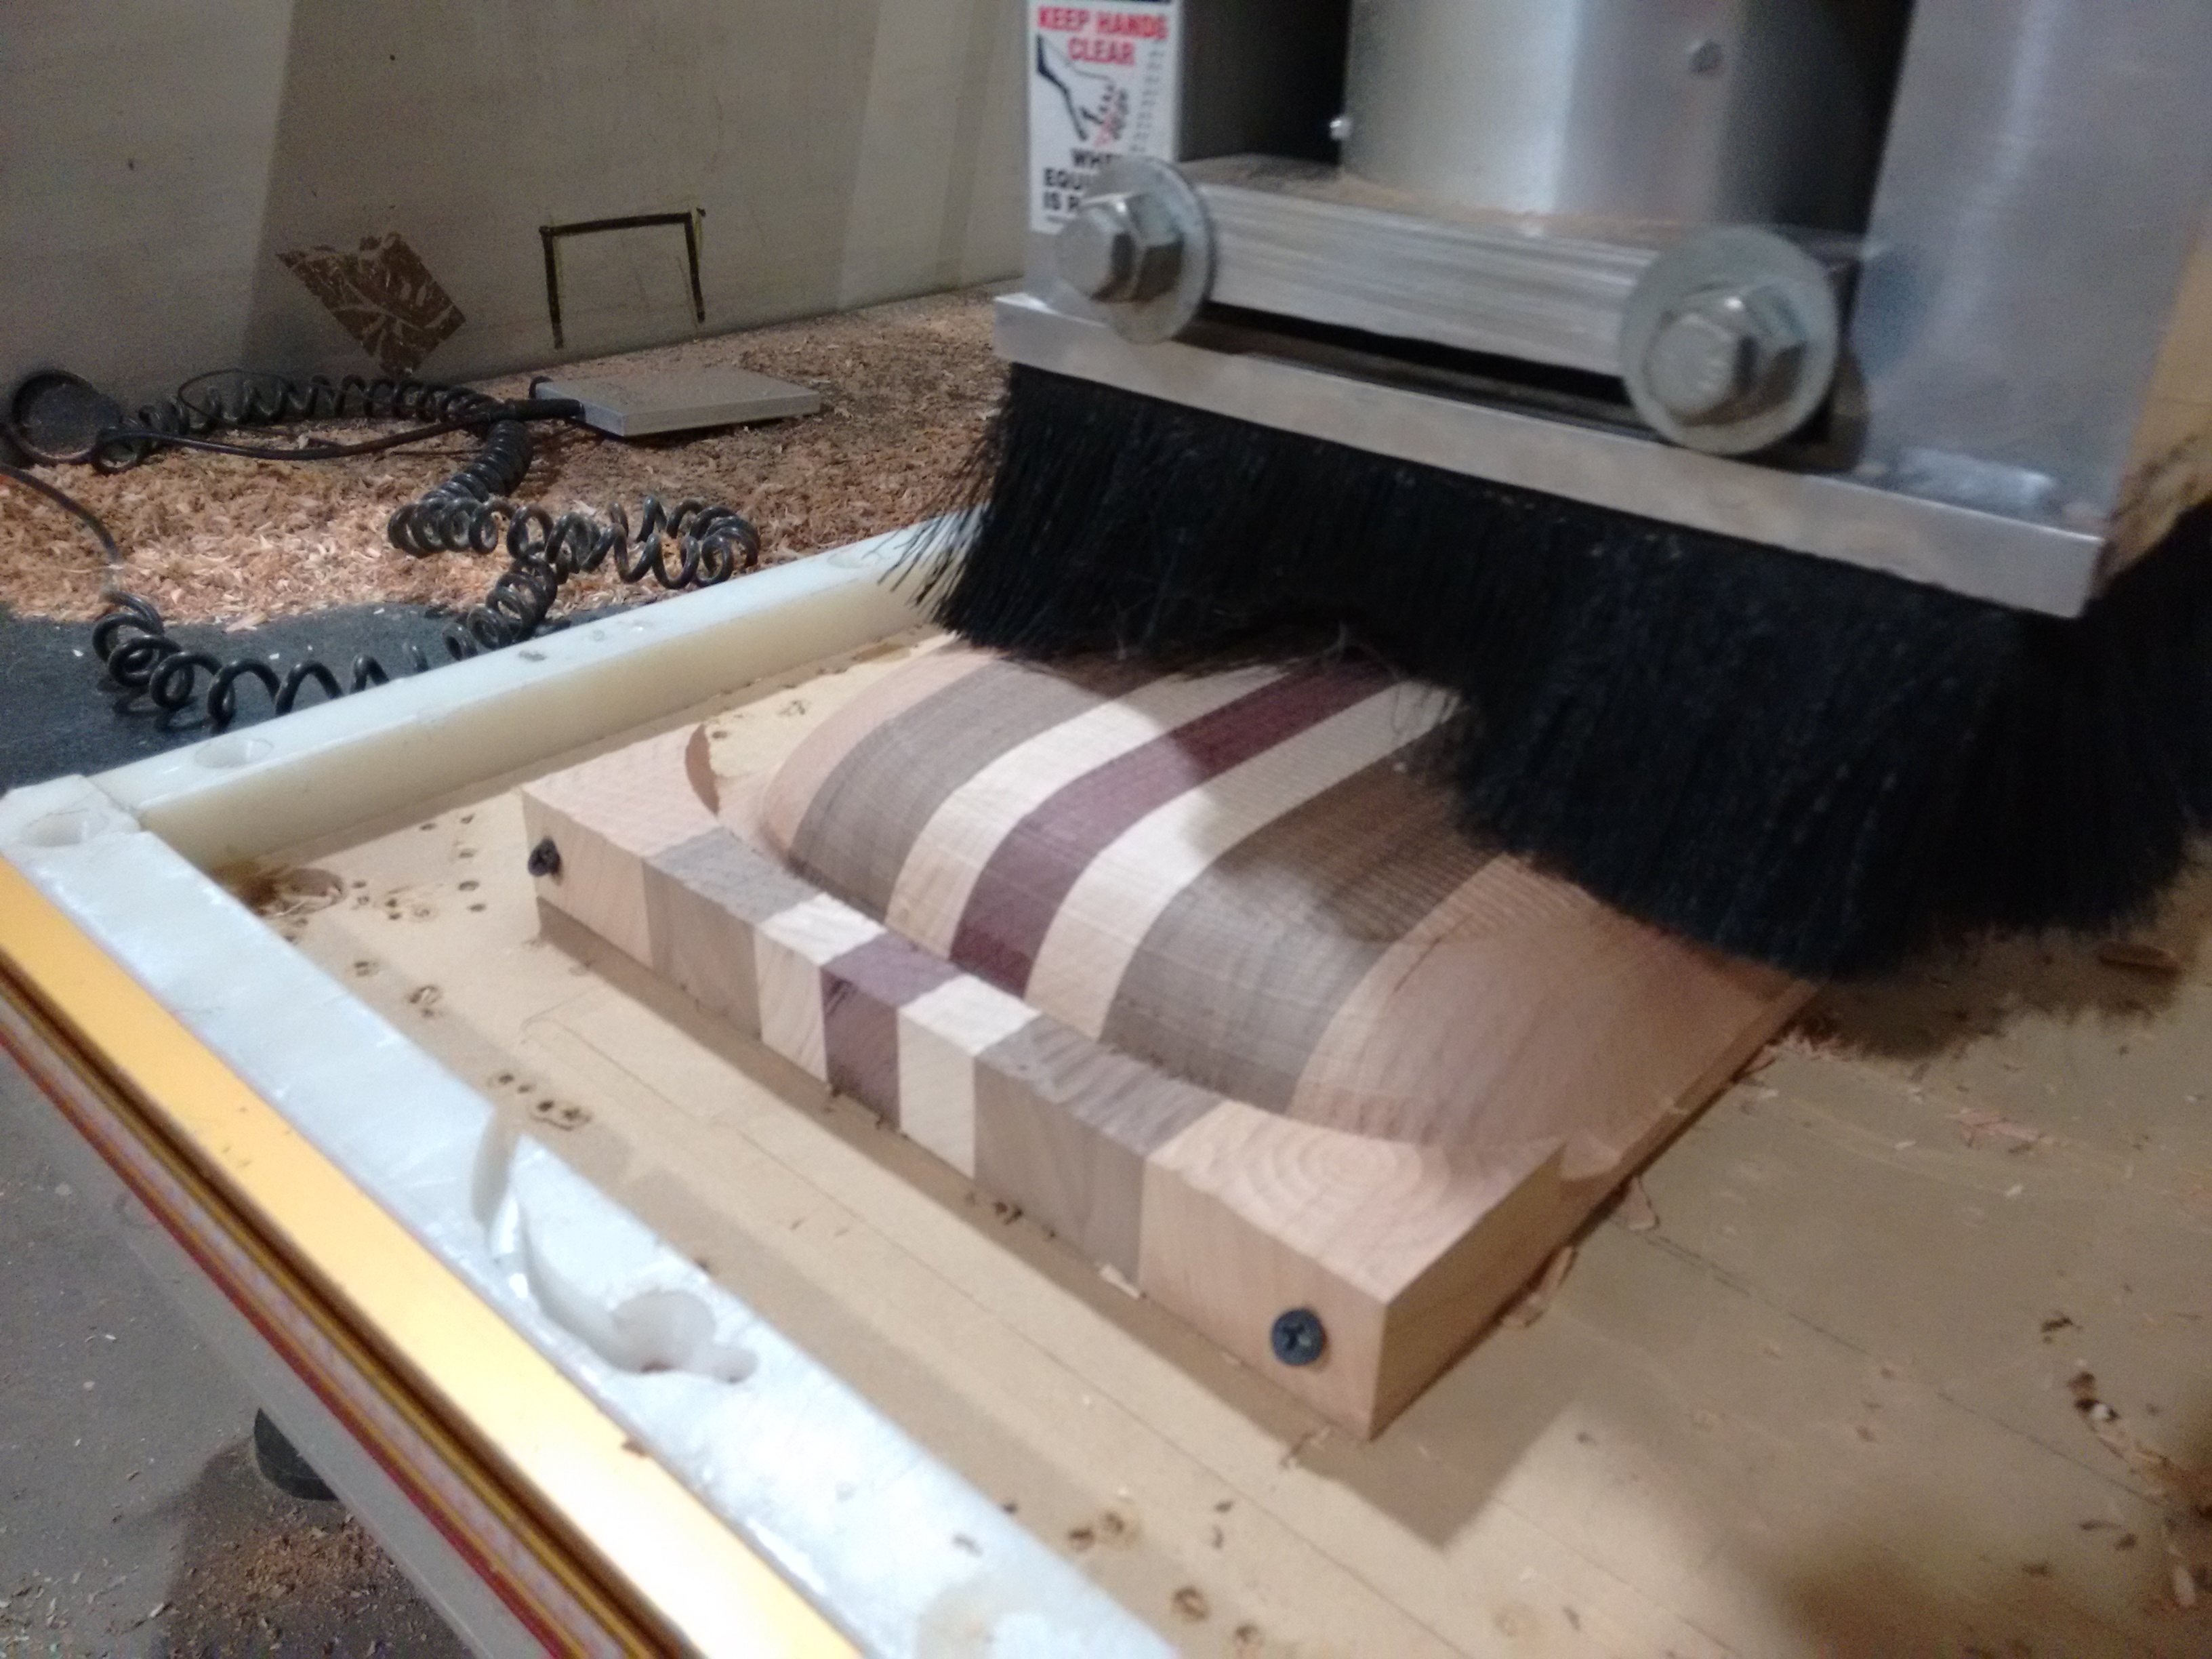
I fixed the stock to the bed with four screws at the corners:
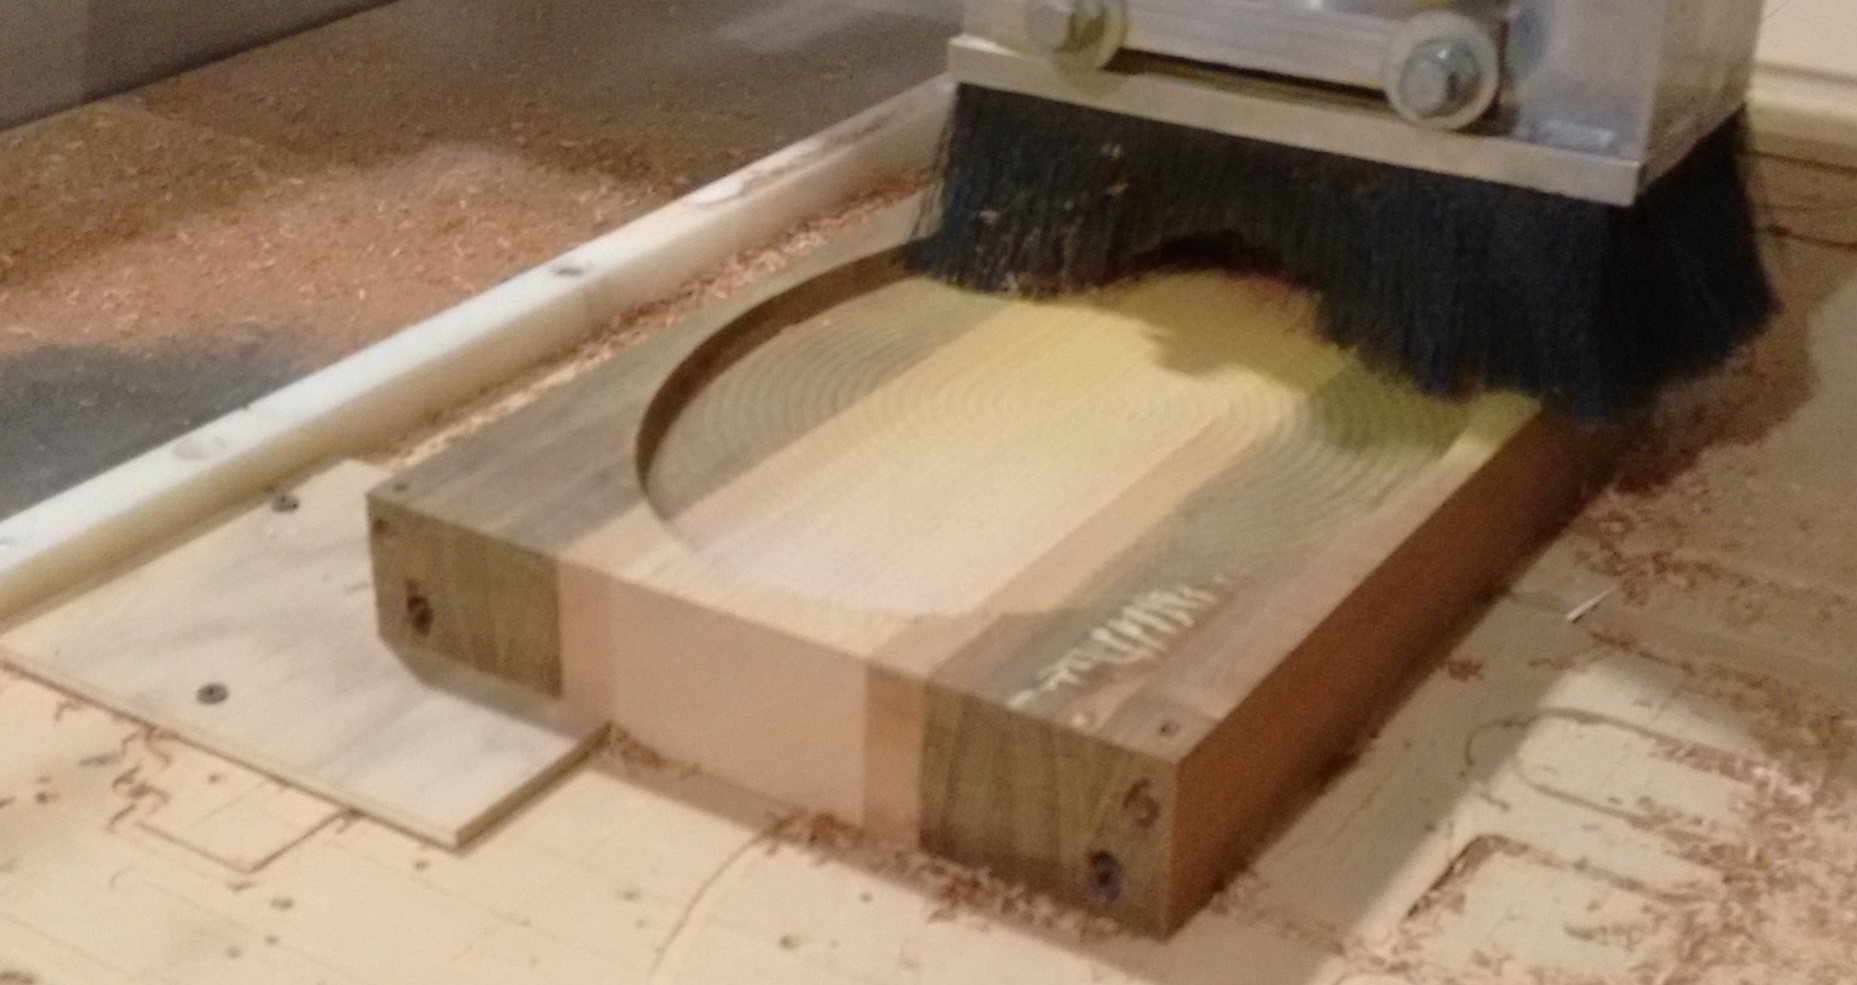
As you can see, I also attached a piece of plywood with a square angle cut in it. The stock goes tight into this angle. When I flip the stock to mill the other side, it will be positioned exactly at the same point as it was before. It is important to get perfect alignment of both sides.
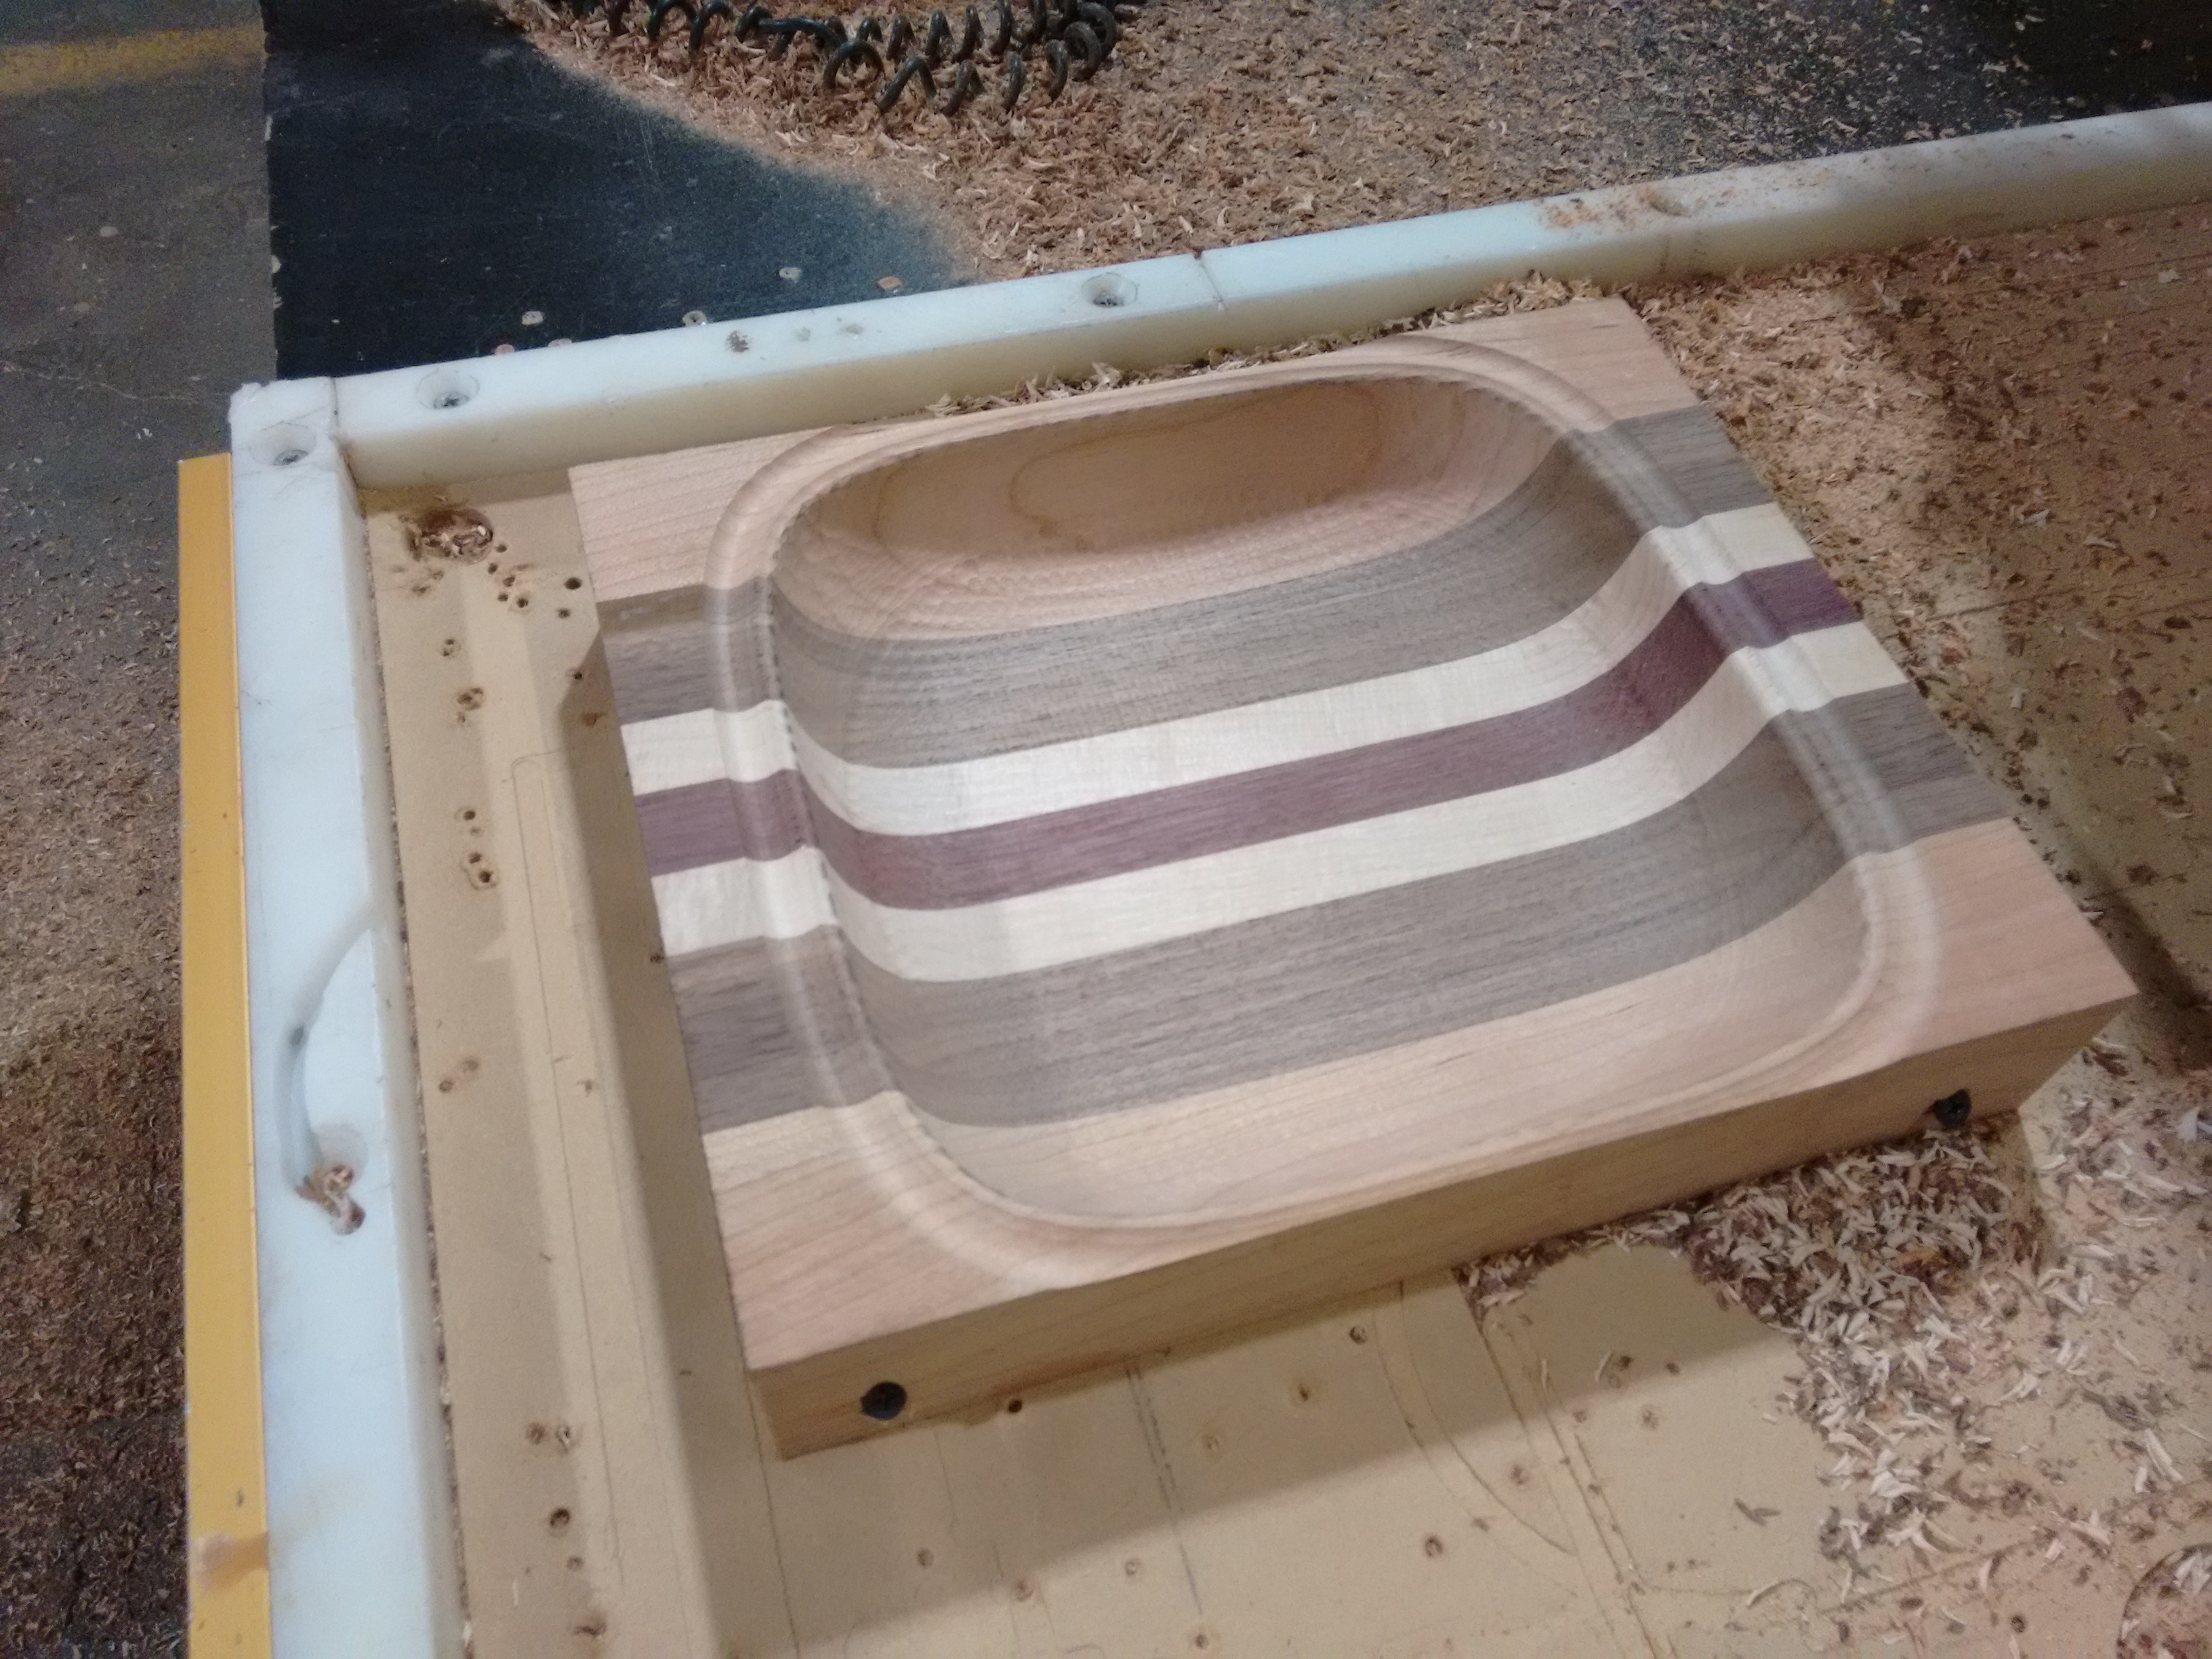
This picture also shows the first pass of the pocket clearing cut for the inside of the bowl. After the inside is done, it will look something like this:
At this point, we need to flip the stock. This is a critical step. It is hard to set the zero coordinate of the CNC exactly at the corner of the stock. As a result, when you flip, you have a good chance to get walls of different thickness. To prevent this I did two things. First, I tried to set the zero coordinate as well as I could at the corner. However hard I try, I am always off by about 2mm at this point. It is not a big deal if you do the second thing. After the first side is done, measure by how much the left wall is thicker (thinner) than the right one (say 0.05 in). To compensate for this on the other side, move the tool to the coordinate x= -0.05 and set the new zero here. Now if you flip the stock left to right, the surfaces should be well aligned.
After the flip, we mill the other side:
Instead of making tabs, I just leave 1/4’’ of the stock around the bowl perimeter. So after the milling is complete, I just band-saw the remaining stock away:
The last hard step is sanding. While sanding on the outside is easy with a belt sander, on the inside you have to be creative or just sand by hand. Dremel may be useful here
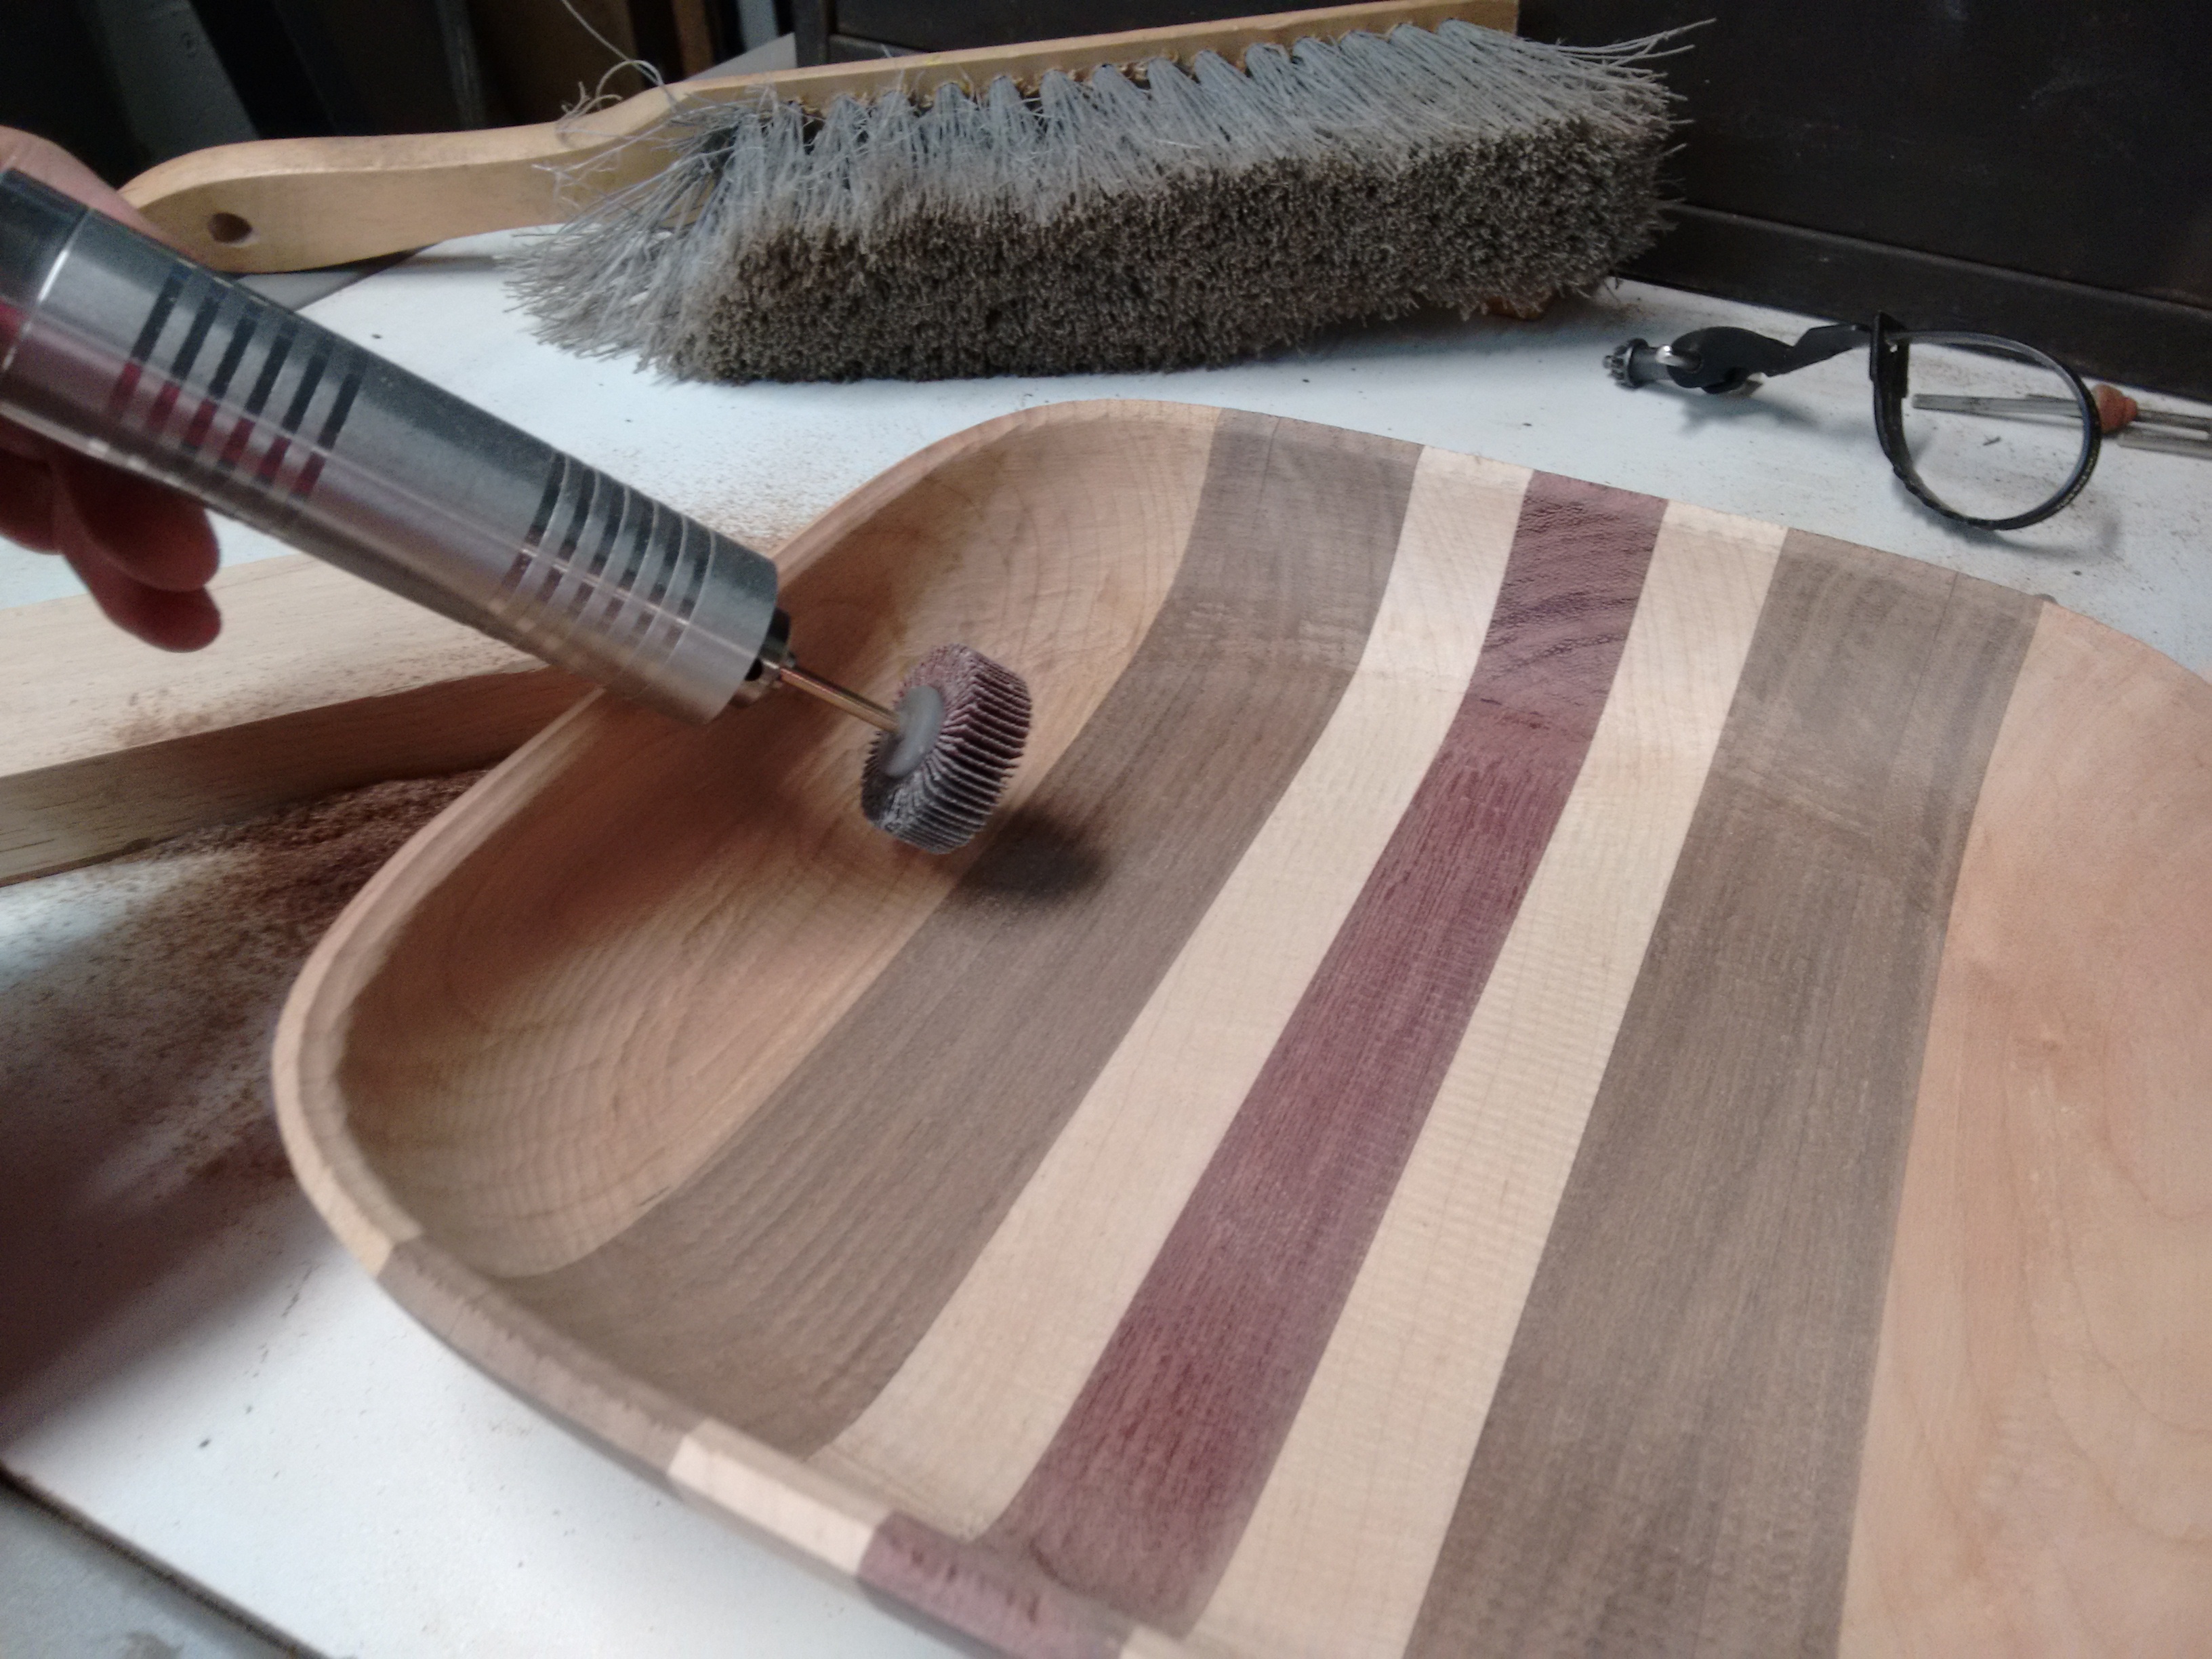
But for the most part hand-sanding is still the best option. Yes, it takes time…
The final step is finishing. I used tung oil. Generously apply the oil

let it stay for an hour, then wipe dry. Recoat after 1-2 days (it will not dry completely between coats, and it’s fine). After about 5 coats the surface will develop a nice matte sheen. It’s a long process but the results are rewarding!


